In this article, you will learn how to access and manage your Documents.
- Accessing the Documents feature
- Creating a new folder
- Adding or deleting documents
- Additional Document settings
- Editing or deleting existing documents or folders
Accessing the Documents feature
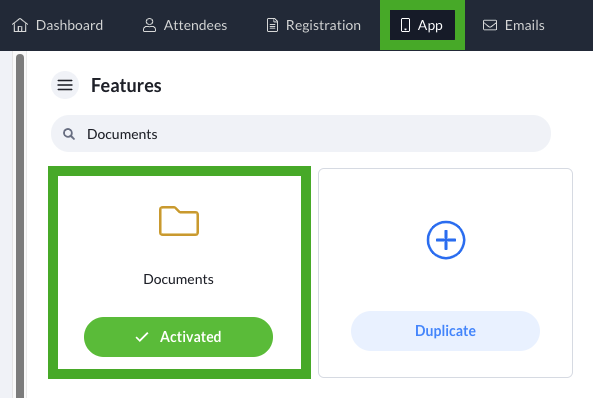
- From the top Admin Panel, select App.
- Search for the Documents feature and select the Documents feature
Creating a new folder
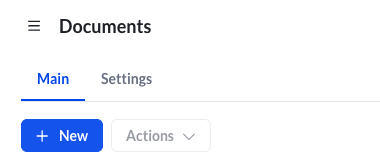
- From the Documents feature, select the + New icon.
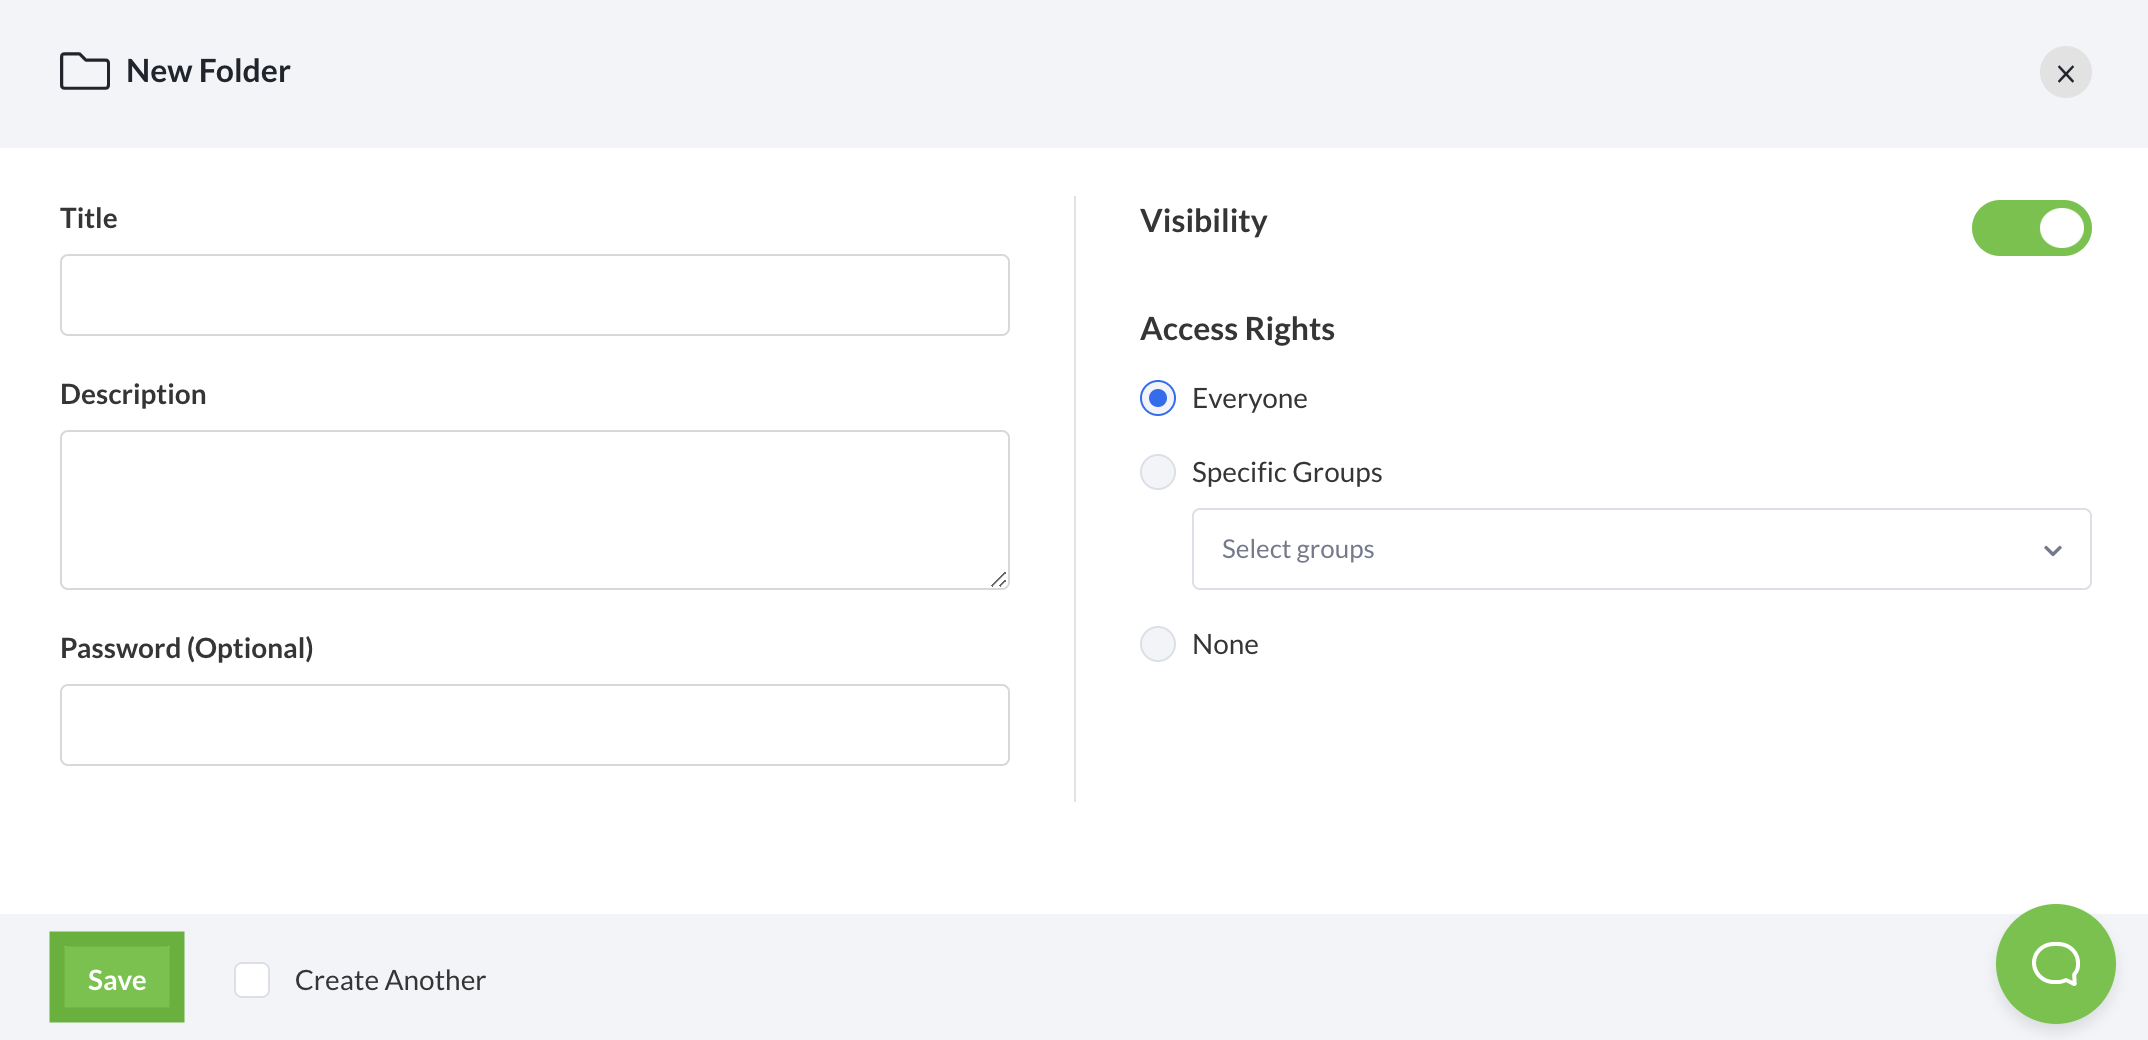
- Fill in the Title field and include a brief description for your attendees.
- (Optional) Set a password if you would like to enhance the folder with an additional level of security.
- Determine the accessibility of the folder by choosing from the Access Rights dropdown list.
- Once you have filled in the relevant fields, select Save to finish creating your new folder.
Add or delete documents
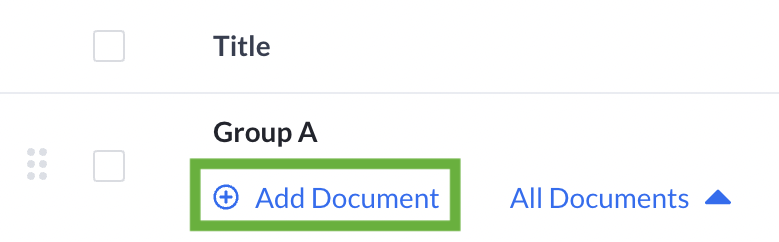
- Under the Documents Tab, select +Add Document found under the Folder Name.
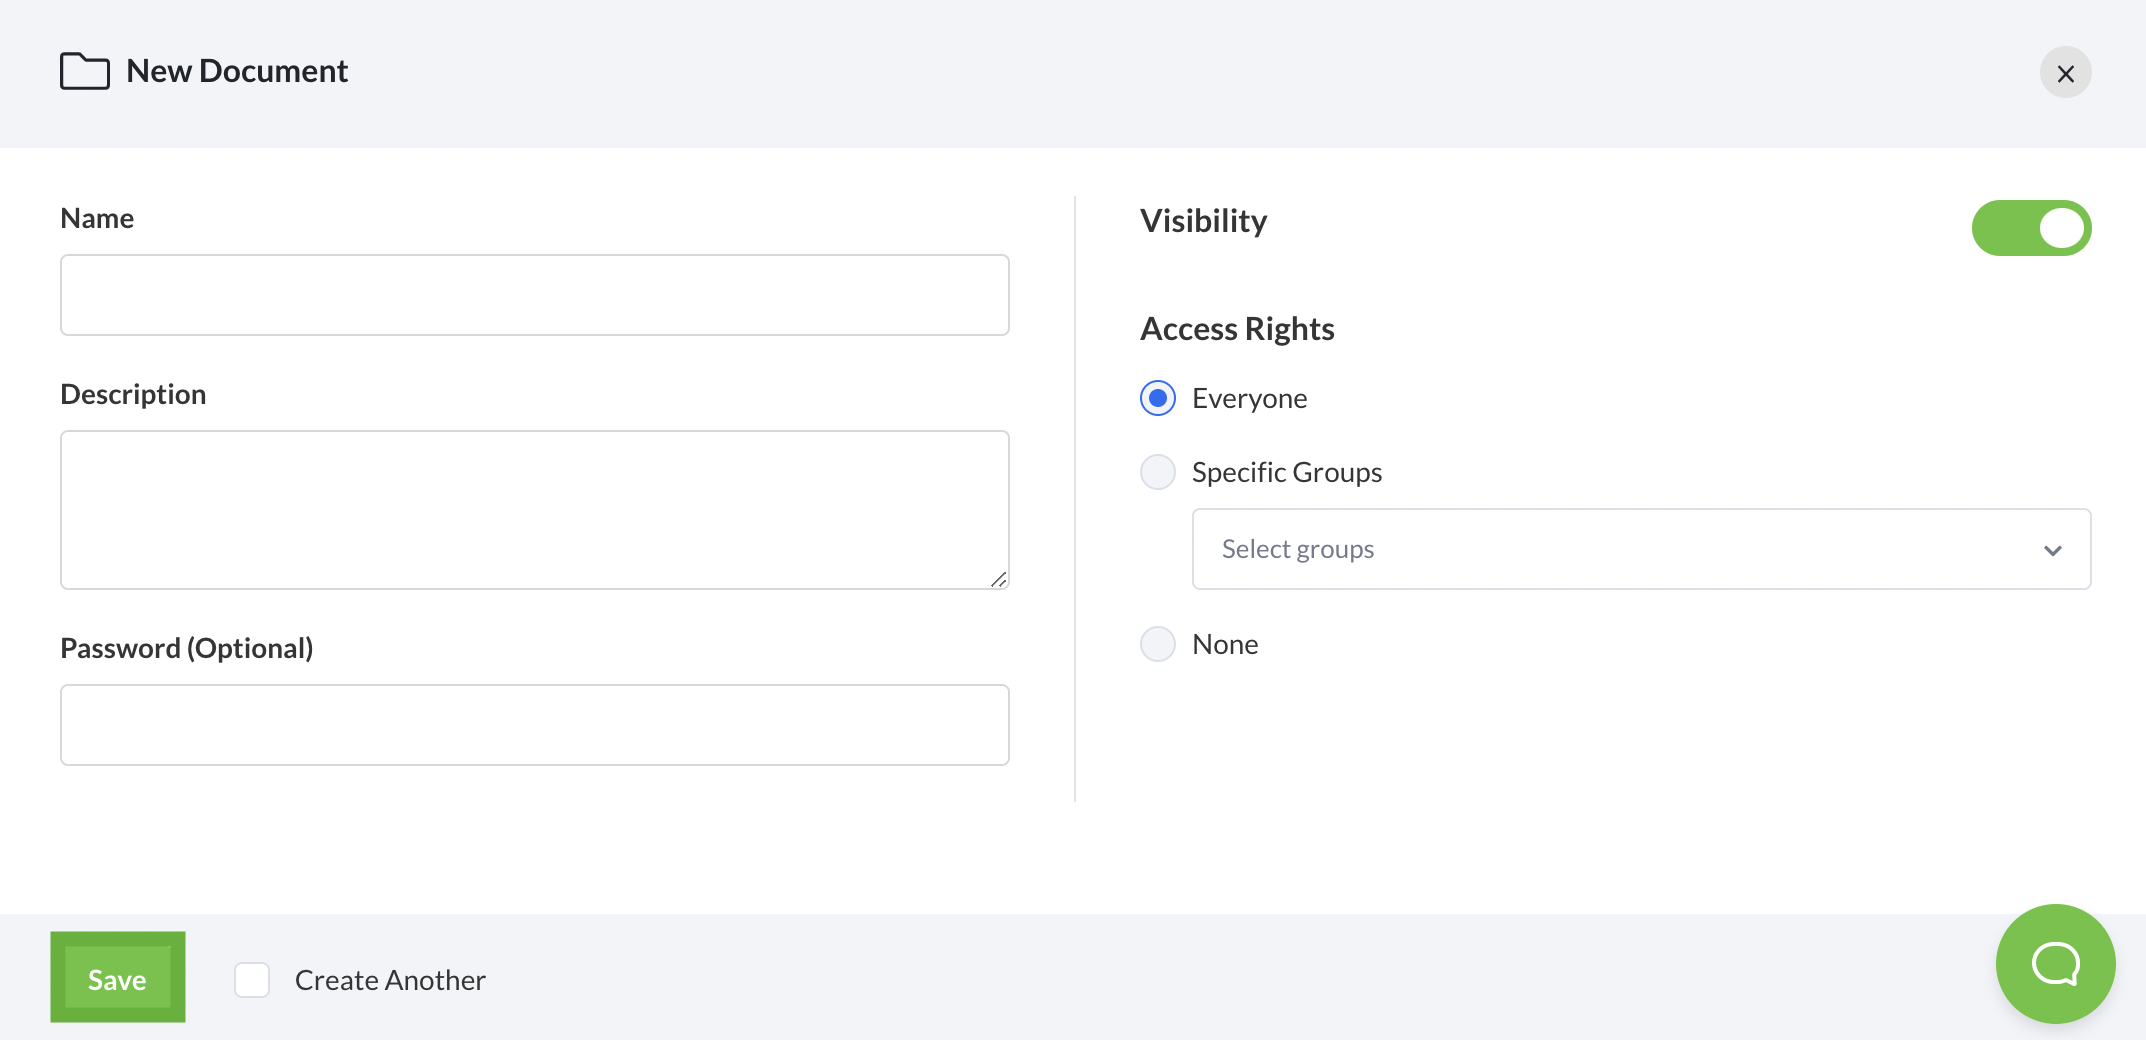
- Fill in the Name and Description fields, set a password (optional), set Access Rights, and select the save button.
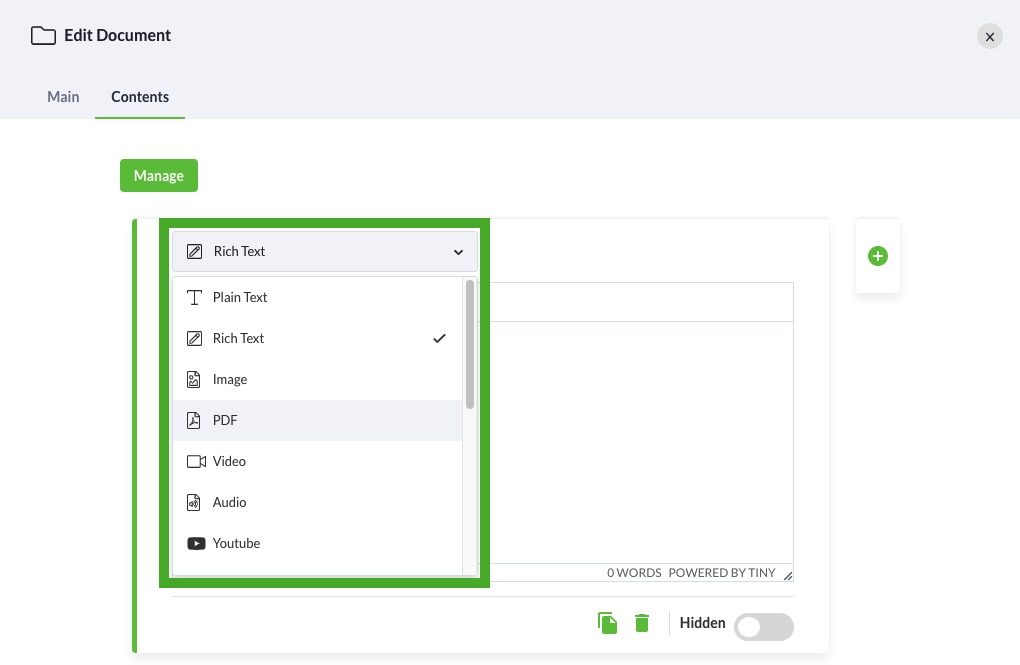
- Under the Contents Tab, choose the type of content by selecting from the dropdown list. Micepad supports a wide range of formats, some of which include PDF Files, Images, Audio files, Videos, and many more.
Additional Document Settings
There are additional settings for PDFfiles after uploading them. Select the pdf you wish to change the settings and scroll down.
- Email: Enable this to allow attendees to send the document to their email address.
- Hidden: Enable this to hide the selected document from attendees.

Editing or deleting existing documents or folders
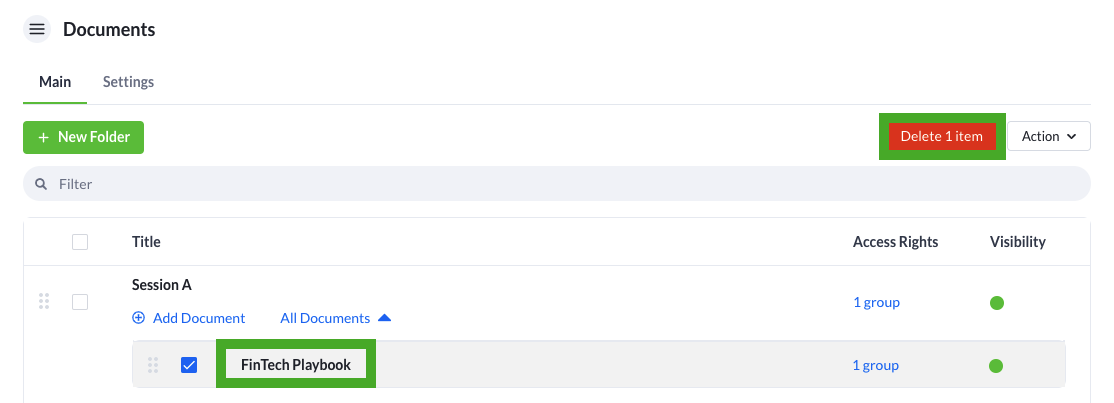
- To edit documents, select the desired documents or folders you wish to edit.

- To delete folder, check the box next to the document and select the Delete button
Note: Be careful when deleting a folder as all documents within the folder will be deleted and this step is irreversible.